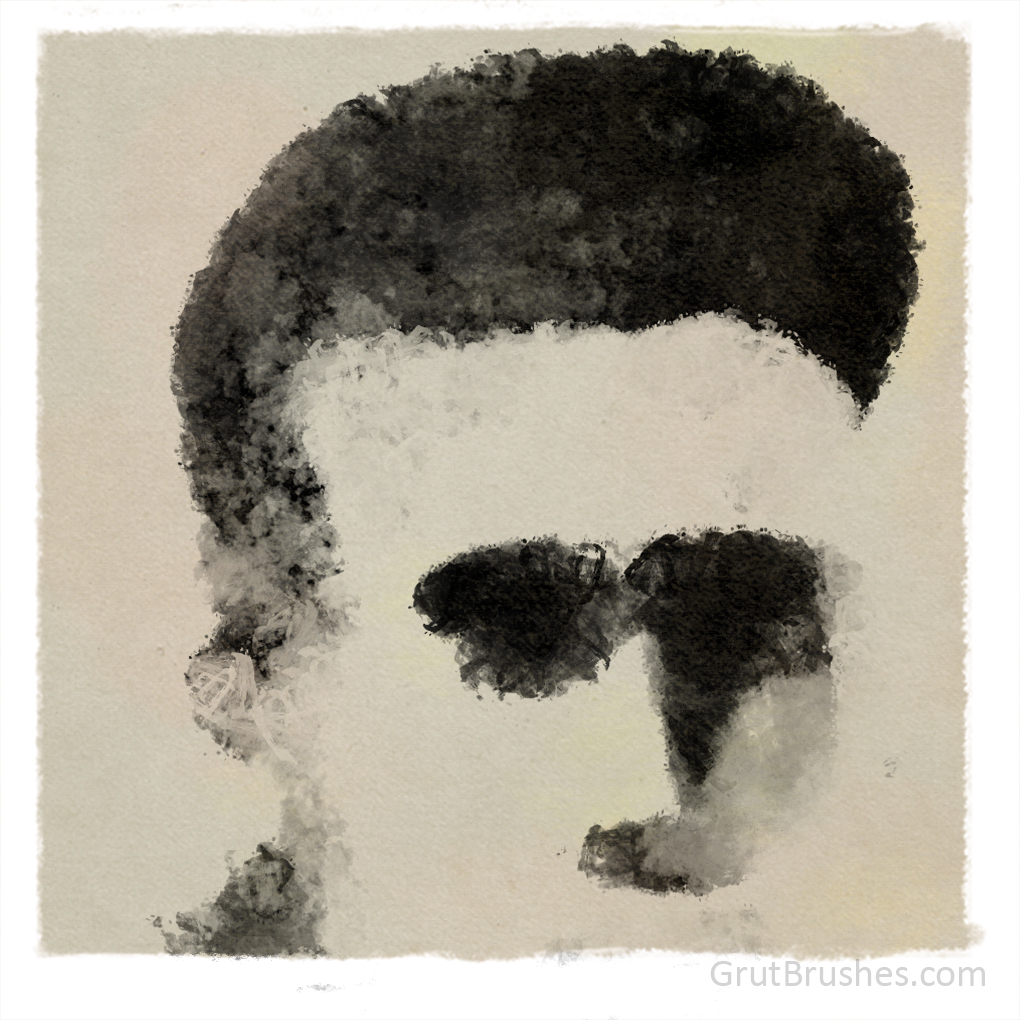
I added this wet inky Photoshop wash brush to the shop this morning. Start slowly with a soft stylus pressure and build on it by drawing back and forth to add more soggy ink until you have as much ink pooling as you need. Take care not to lift your stylus until you finish your stroke if you want to avoid overlapping edges. It’s edges sometimes look better in general with a bit of softening using either a blender or an eraser.
Painting with the ‘Spent Pestle’ Photoshop brush (paper texture added)
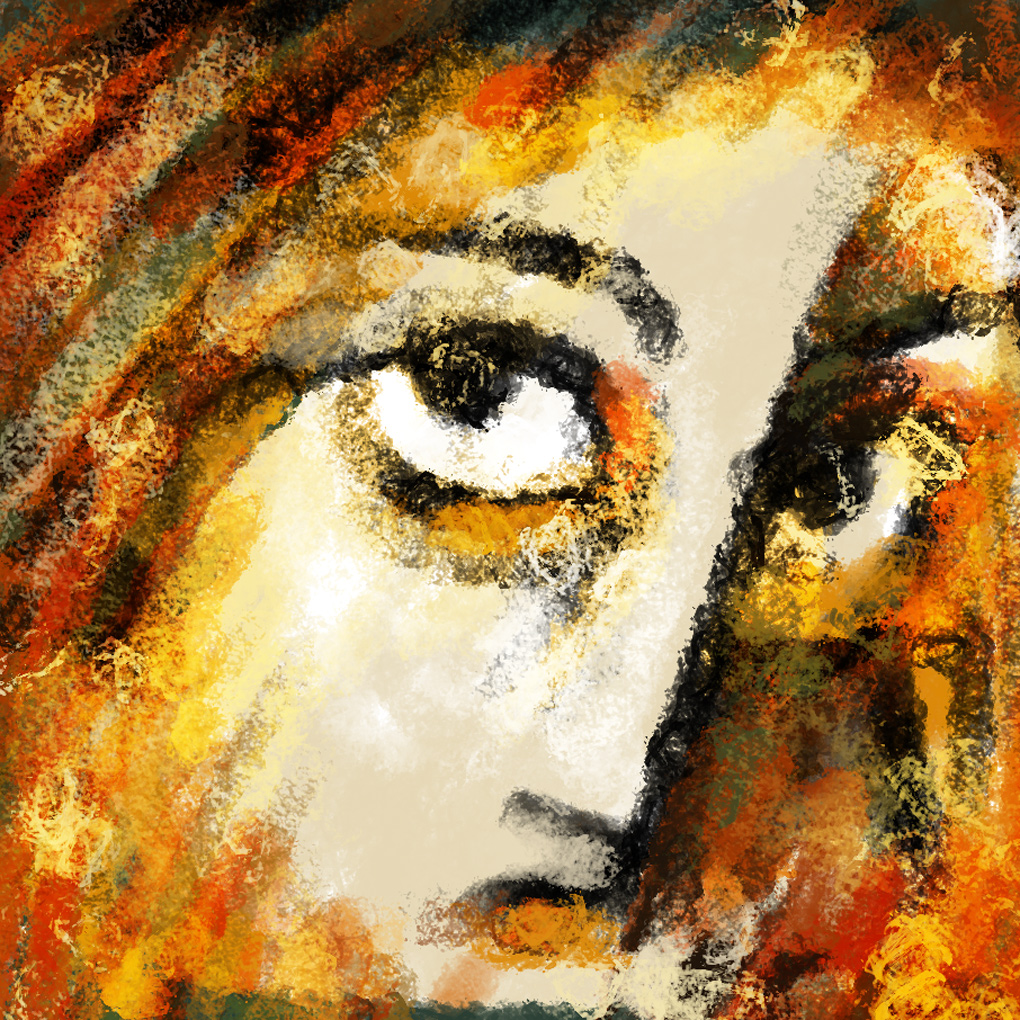
This week’s free GrutBrush ( grutbrushes.com/freebrush ) is a specialty brush which mostly means that it doesn’t quite fit perfectly into any of the traditional media categories like charcoal, ink, watercolour, etc. Nor does it quite fit into my catch-all category “Natural Media” where I normally place brushes that behave and look like traditional media. This is what I call a ‘Specialty’ brush. Tthey tend to have a look that is quite unique that makes them suitable for one particular tasks rather than general drawing or painting. you wouldn’t chose a specialty brush to take a message while on the phone or draw a map to your house.
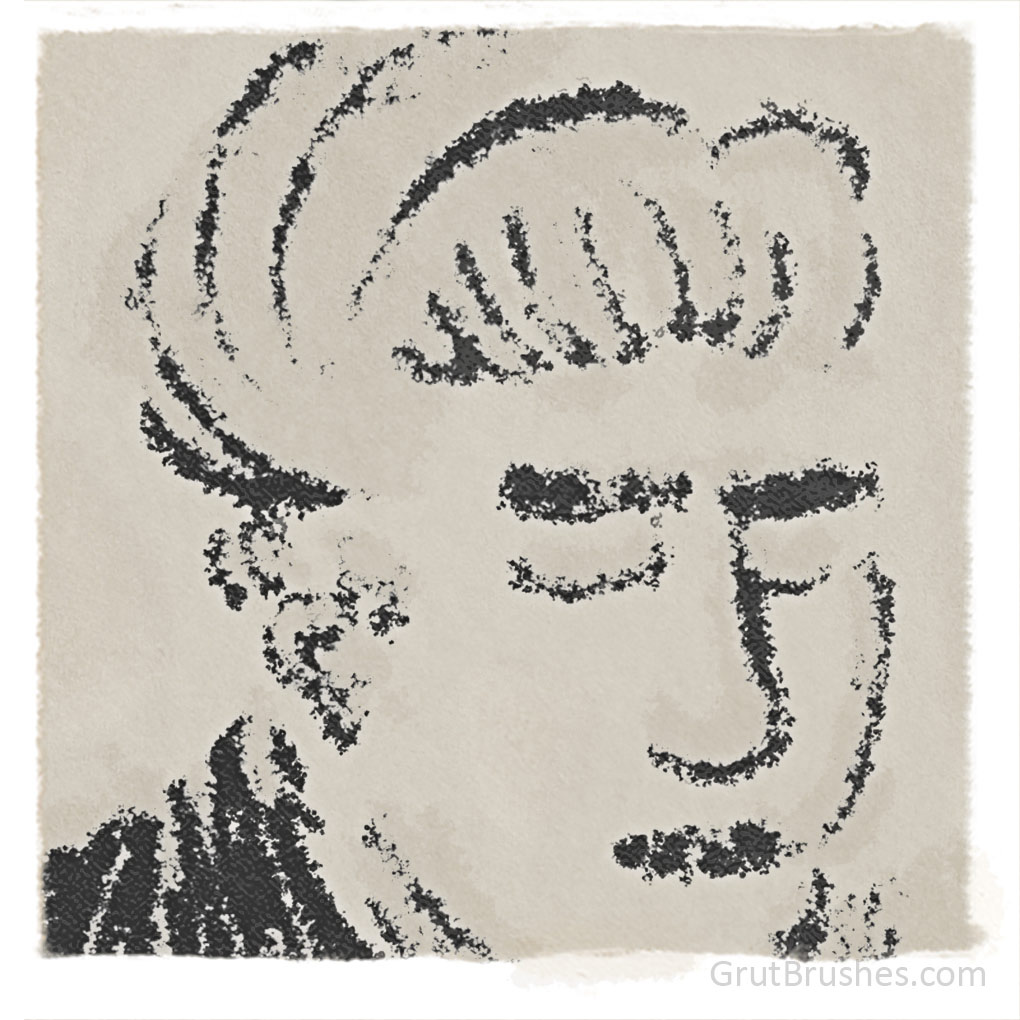
Making this image
To create this drawing I alternated between black and white a lot (using the ‘x‘ key shortcut) and used the white to carve away at the black lines, sometimes shaping them into finer points than the brush weight allowed. When I was done, I turned the layer into an overlay, over the paper texture and toned down the white parts of my drawing using hue/saturation to the point where it is still just slightly visible, almost as if it’s a faint water stain, like wet sand off a shoreline. I then added a tetxured overlay of the paper on top of the black areas to give it a more ‘lived in’ look and integrate it a bit more with the paper backing. A flat layer of colour on a natural background always looks too artificial to even be a part of it’s own background, nothing in real life is one single colour or tone.
Having more fun with the brush of the week demo doodles
This drawing is also the start of a bit of a departure from the usual demo images, not in the content or style, which is my usual doodley sketch style, but in the rules I set for myself when creating it and it’s something I hope to be doing more of from now on. For the past year, I usually set myself pretty tight rules on how I present the demo images, I try to make sure I only use that one brush, ‘as is’, I don’t change the width, I don’t manipulate the appearance of the lines, I used to stick to only one that brush for the whole piece. In the beginning I even tended to restrict myself to black and white to present what I felt was the most accurate depiction of what the lines look like so that you know exactly what you’re getting when you download the brush. This year I am going to try (spare time permitting) to relax my self imposed rules and have a bit more fun with the brushes for a few reasons:
You can always click through to the brush page on the website and see all the technical details there including an animated preview showing exactly what it’s like to draw an unadultarated brush stroke in black on a white background.
It’s a free brush, so I am not sure why I feel like I’m doing a bait and switch just because I used an eraser to tidy up a splotchy area of one line or added a texture, or changed the line width. I realise that I shouldn’t shy away from showing unconventional uses of the brushes the point is to show you what you can do with an art tool, and part of that should be to get creative with it, I’m not making a schematic for a medical device!
The final reason is mostly for me. While following strict rules may be a reliable way to immediately showing what the brush looks like, that’s not very conducive to creativity or fun. I always tell myself “Just stick to using the brush as is, consider this drawing a product demo and then later you can have some fun with it and do something more creative” but in reality, later never comes. Making the brush of the week is often the only time all week that I actually do any doodling so If I don’t use the ‘free brush of the week’ in a creative and fun way when making the demo image, I may never get to it again! It does me good to remind myself that I started making these brushes was a way to add creativity back into a stressful work life, and I hope I can share some of the benefits with you.
So from now on I’m going to try to be a little looser with the brushes and play around a bit more. Hopefully I’ll take advantage of my relaxed rules and start having a bit more fun with the brushes, and Im sure you’ll forgive me if I add in a few flourishes with other brushes and take a few liberties with the technical details. I promise that the images will always be primarily driven and inspired by the brush I am giving away.
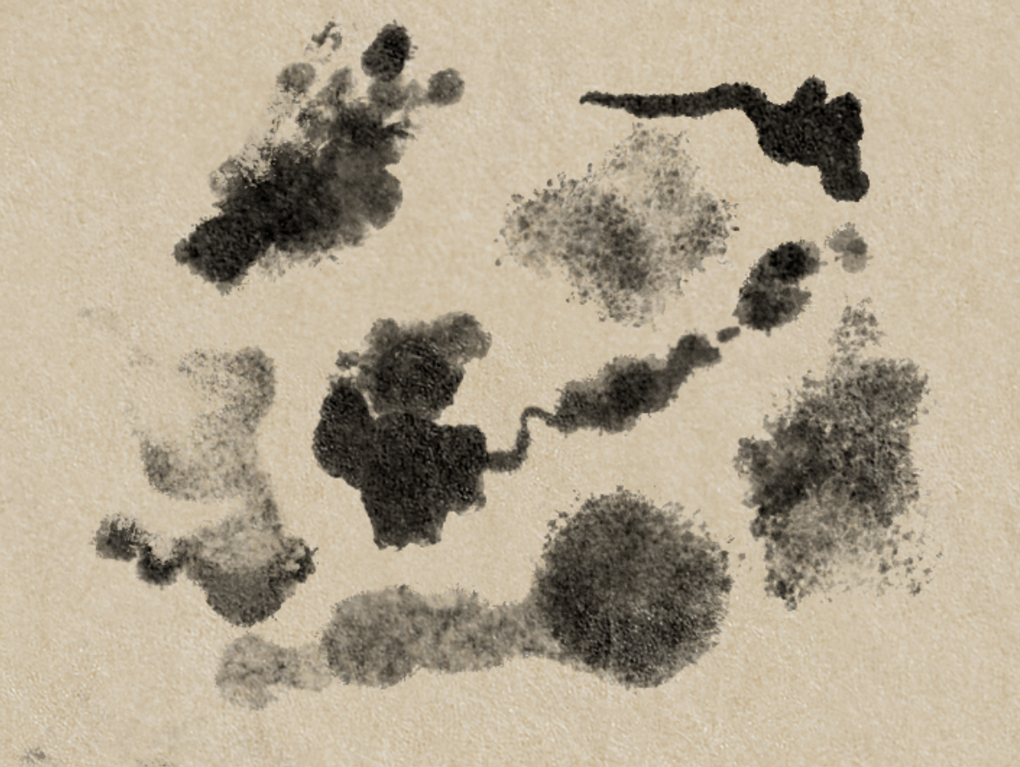
Painted with the ‘Scatter Mat’ Photoshop brush (wash with ‘Moth Wing’ brush)
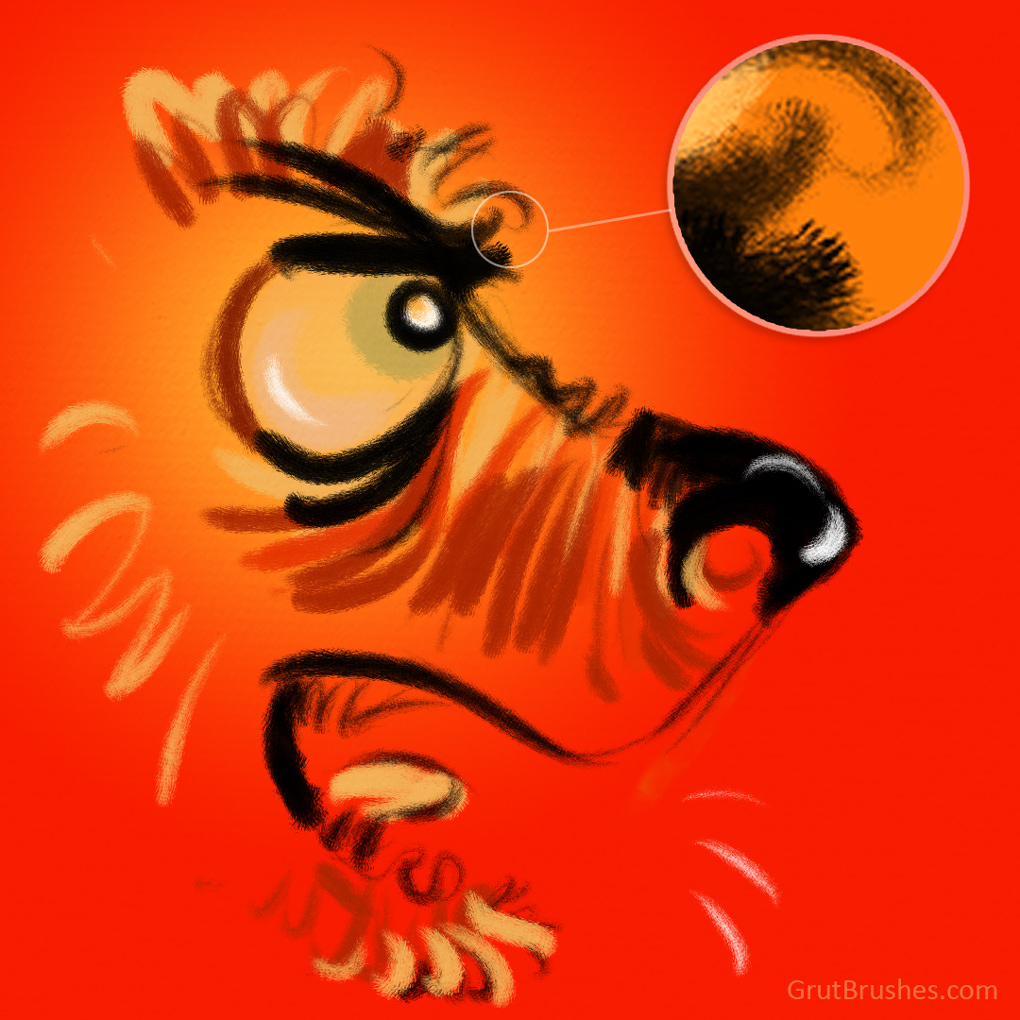
This week’s free Photoshop brush is “Scatter Mat” a gritty wiry natural media brush that starts with a relatively uniform mid toned line but ends in a powdery mess at the highest pressure range. This brush brings a chimney sweep’s broom to your sketchbook. As always, you can download it on the free brush of the week page until Monday when there will be a brand new free Photoshop brush to download.
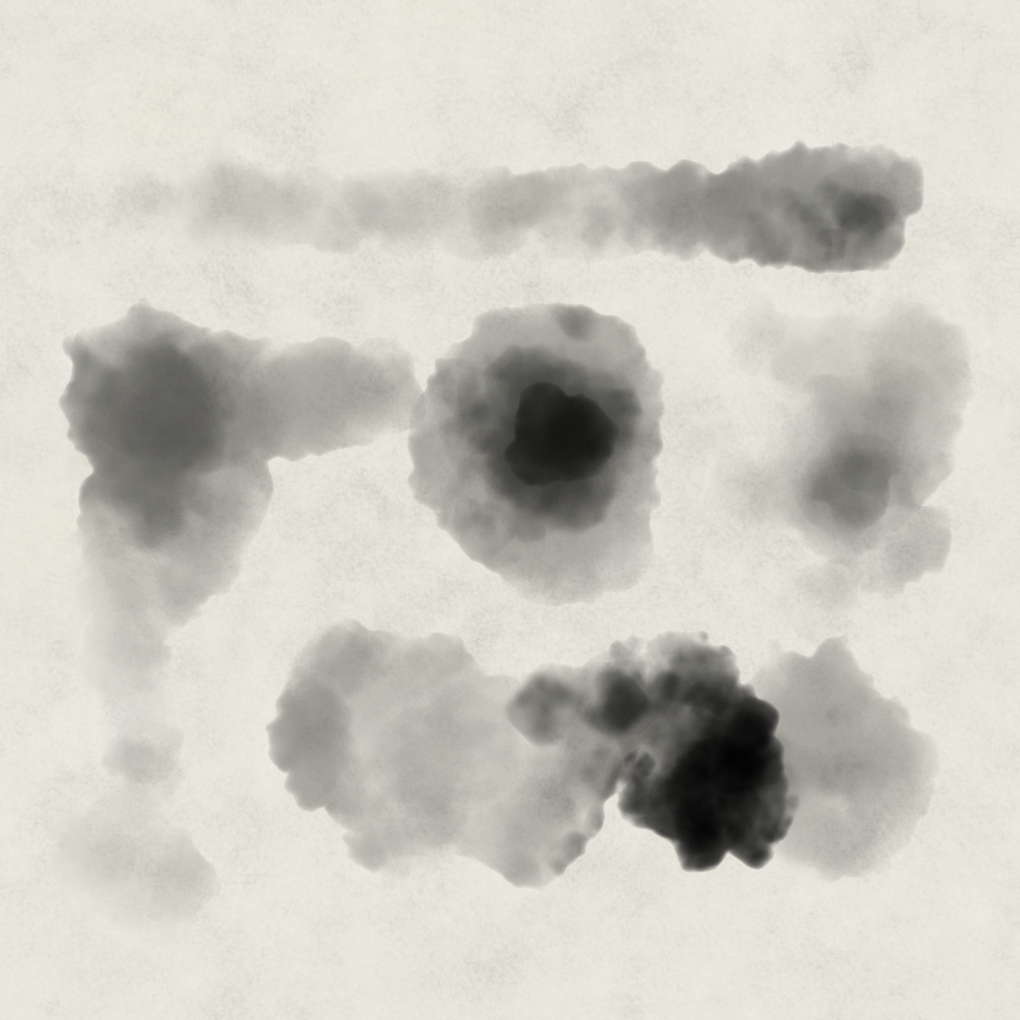
Taking a quick break from working on the cloud brushes to play around with some new splattery ink and paint brushes in the workshop. As usual, the goal is to make brushes that behave naturally; staining, splattering and ‘soaking’ into the paper as you draw, these are not stencil stamps. Here you can also see how using one of my paper templates enhances the organic look (take a look at the lighting in the darkest spots for example)
Normally I’d be announcing the free brush of the week today (Week #52…1 full Year or free brushes!), but I was waiting until some really serious website problems were resolved. That doesn’t seem to be happening so my post announcing the free sampler set of 10 brushes and tools (6+4) which I’m releasing as a “Pay What You Want” product (i.e. free!) is delayed. While waiting for someone to help me fix it I made this quick video shows how to install them into Photoshop using the plugin. Come and download it at your own risk as the site seems to be in danger of going down at any moment but while it’s up, you can get them here
Sometimes people ask me which brush I used to do the shading in this painting and when I tell them it’s the ‘Ocean Liner‘ brush they usually don’t believe me and I really don’t blame them because this is the stroke most people get when they use the ocean liner brush:
Photoshop Brush stroke with average pressure applied
The fact is that most Photoshop brushes have a wide range of looks that you can get simply by varying the pressure of your stylus and sometimes you can find some of the most interesting effects at the very low end of the pressure scale.
By charging the brush size slightly from 20 to 45 pixels and stroking ever so lightly, and lifting my stylus between strokes (this part is important!) I can begin to build up this nice texture.
[baslider name=”lowstyluspressure”]
Now I probably wouldn’t set out to create this with this brush but the point is to not accept your brushes at face value. Experiment and investigate how they behave at the very lowest stylus pressure ranges and you may discover that they, like you, have hidden talents.
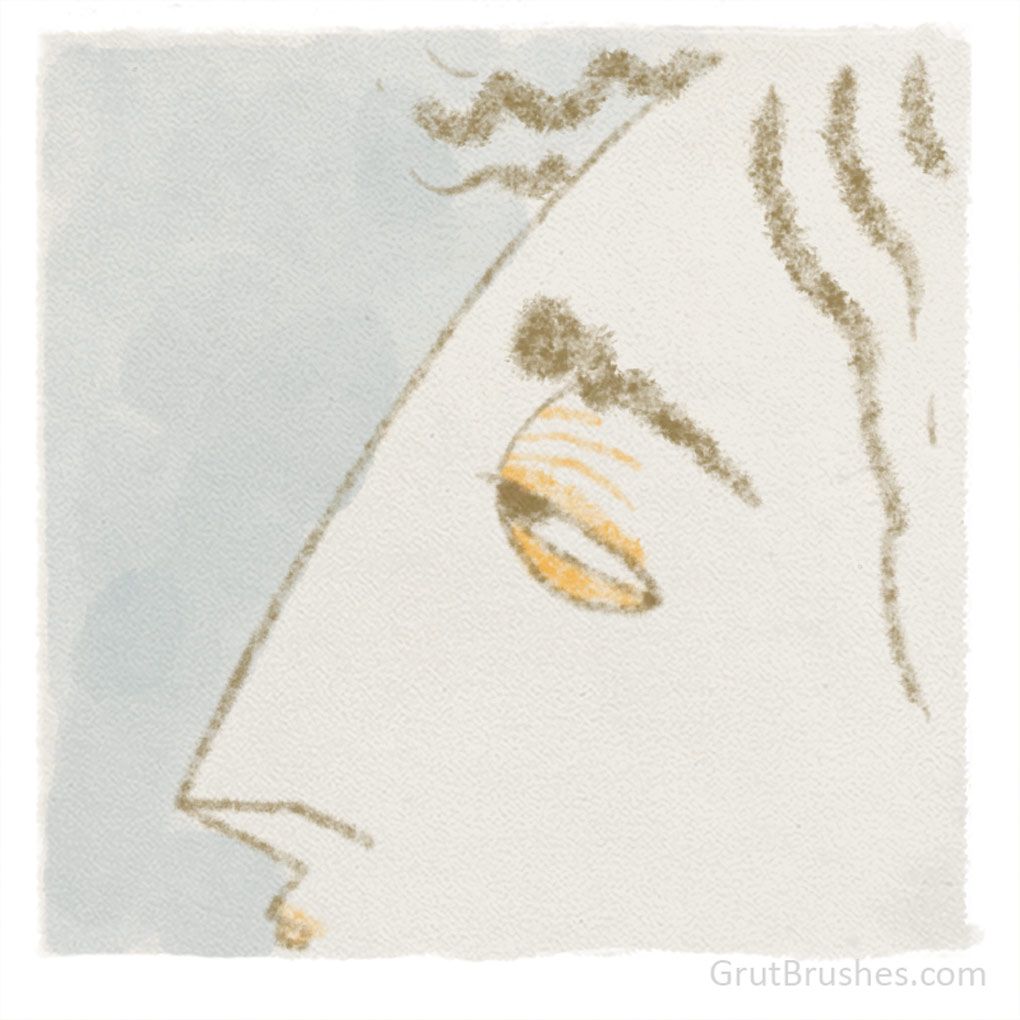
Painting with the ‘Lift Slipper’ Natural Media Photoshop Brush
Working on a new brush. Originally it was more of a charcoal but I like the crumpled newspaper in paint look that it gives when grossly enlarged. This also gives a slight hint of some of the cracked oil brushes I’ve been experimenting with.