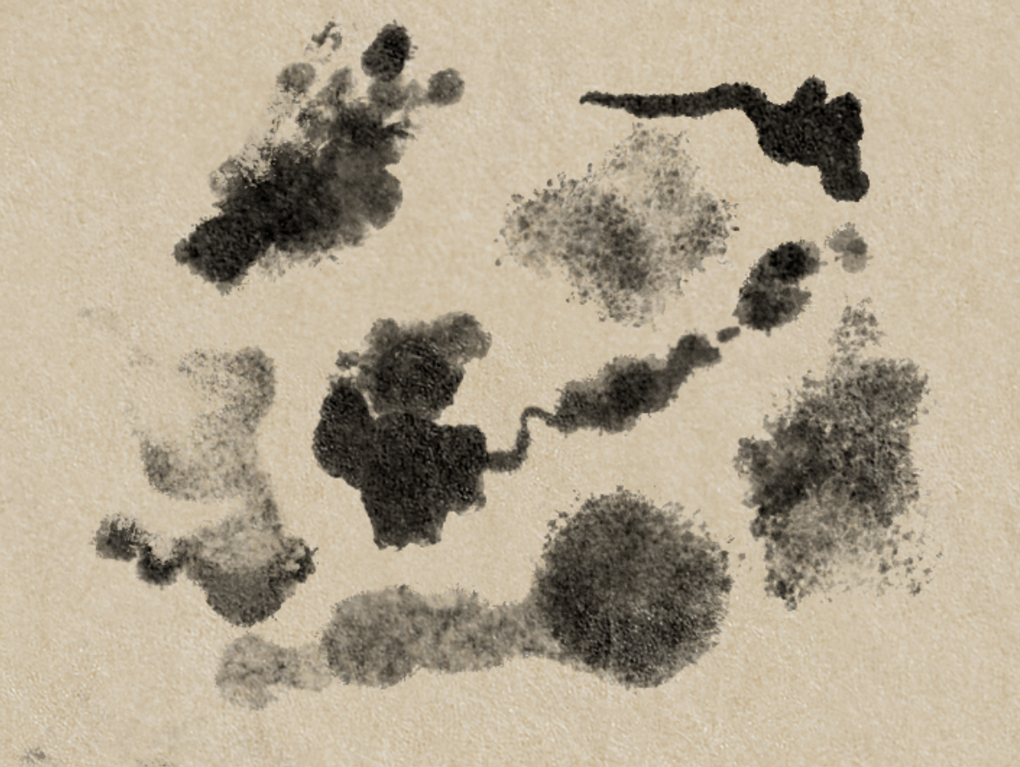
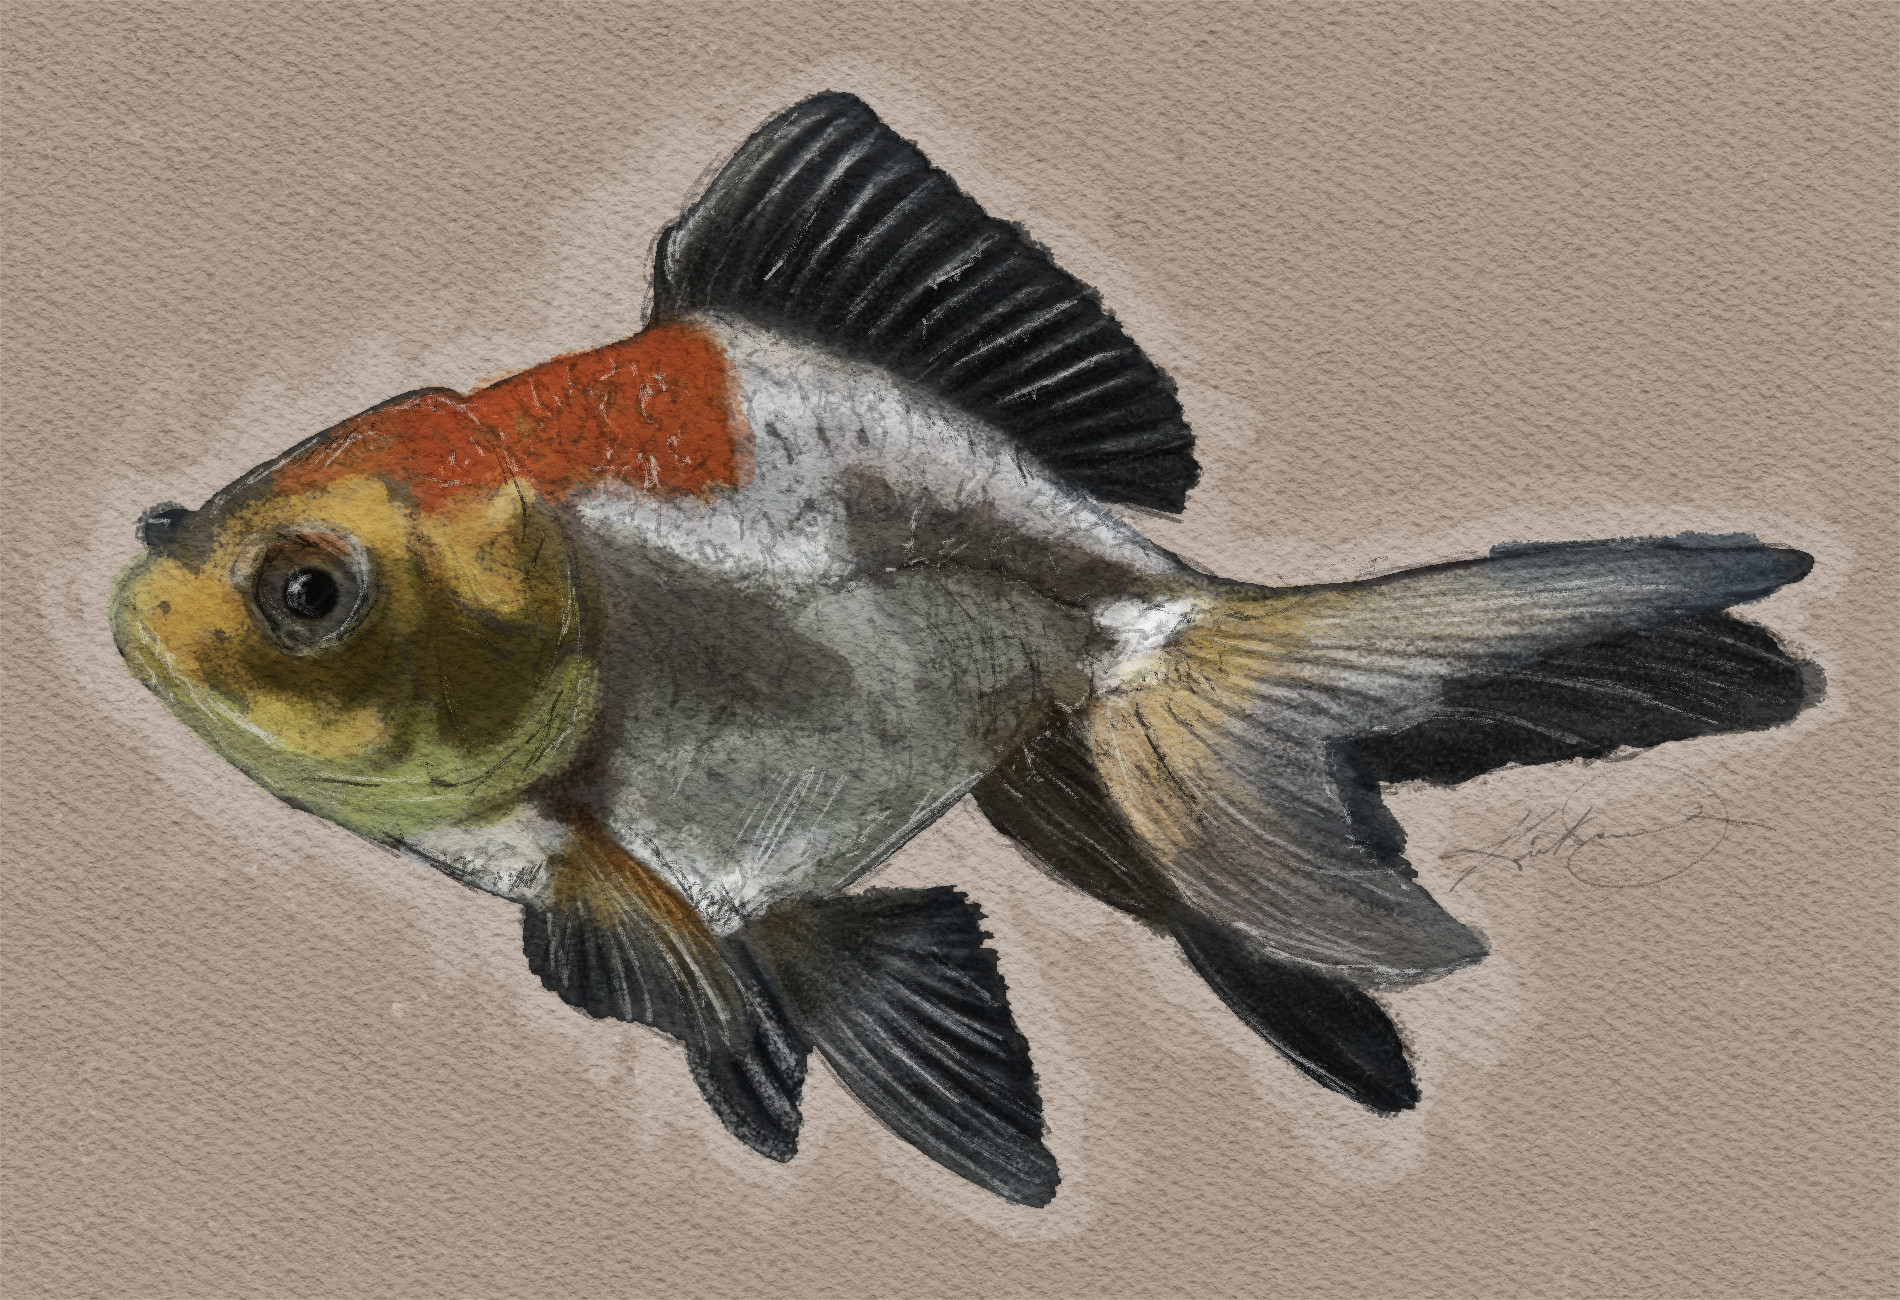
Taking a quick break from working on the cloud brushes to play around with some new splattery ink and paint brushes in the workshop. As usual, the goal is to make brushes that behave naturally; staining, splattering and ‘soaking’ into the paper as you draw, these are not stencil stamps. Here you can also see how using one of my paper templates enhances the organic look (take a look at the lighting in the darkest spots for example)
10 Free Photoshop Tools for GrutBrushes Photoshop plugin users
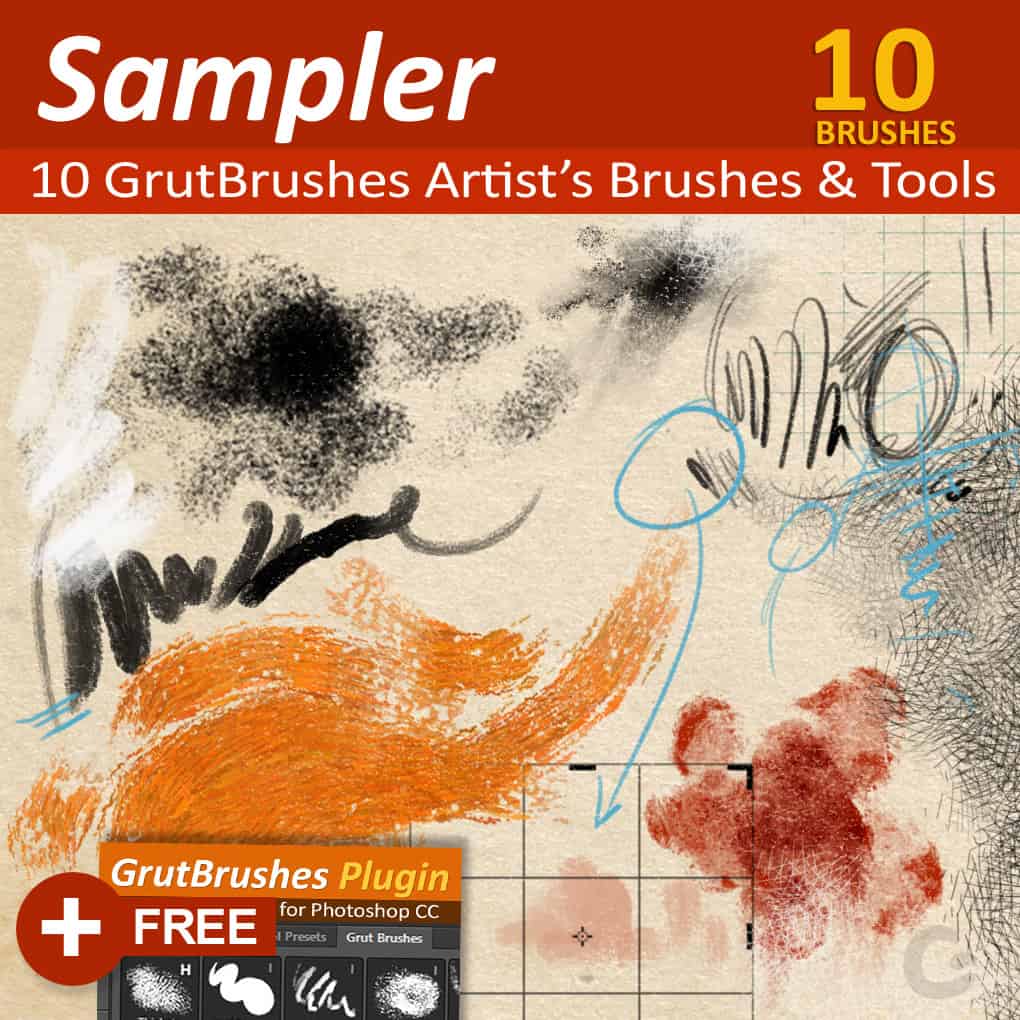
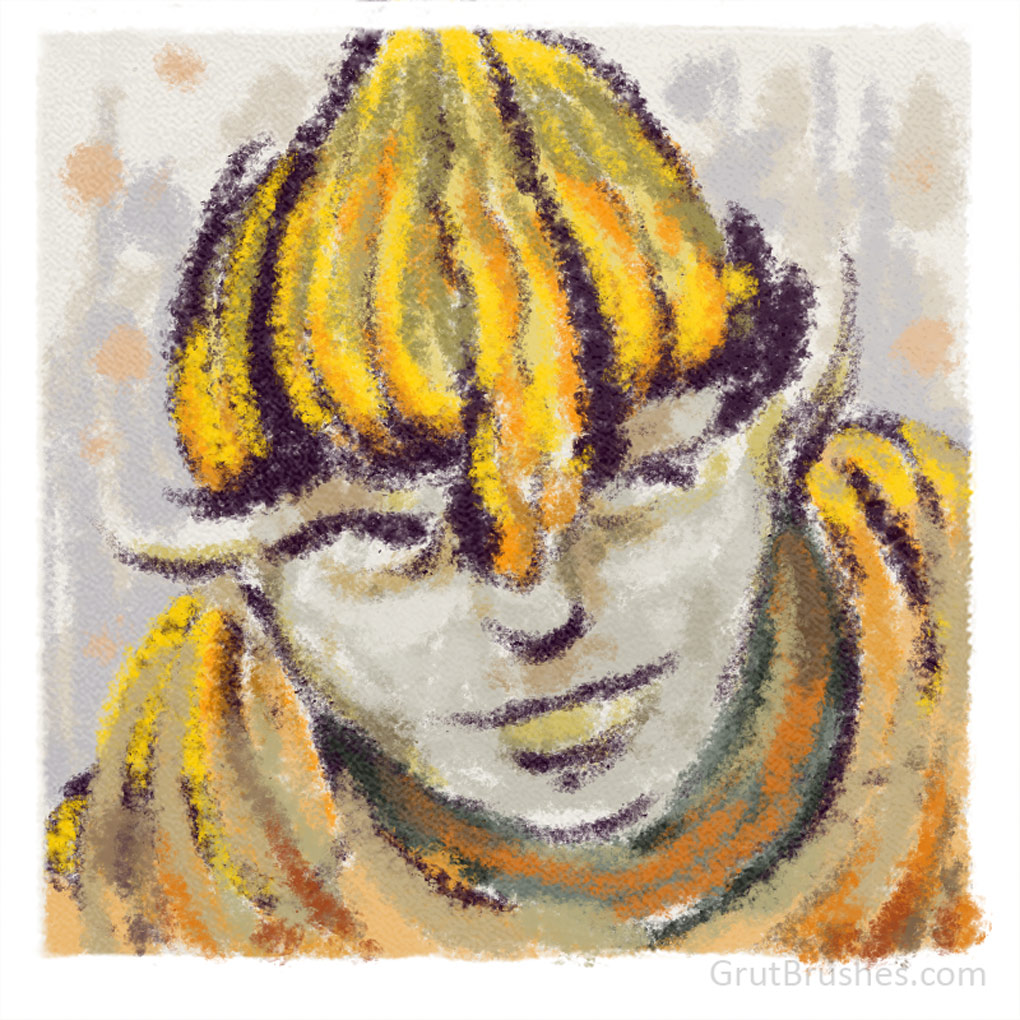
This Free Photoshop sampler set of 10 free Photoshop brushes and tools for digital artists is yours for free to celebrate 1 full year of giving away a new free Photoshop brush of the week for 52 weeks straight! https://www.grutbrushes.com/sampler If you’re using Photoshop CC 2014/15 Download it with the free GrutBrushes plugin panel for the full effect or simply use them in your Tool Presets panel. This image was created using only the tools in the GrutBrushes sampler on a paper background with no post processing.
Normally I’d be announcing the free brush of the week today (Week #52…1 full Year or free brushes!), but I was waiting until some really serious website problems were resolved. That doesn’t seem to be happening so my post announcing the free sampler set of 10 brushes and tools (6+4) which I’m releasing as a “Pay What You Want” product (i.e. free!) is delayed. While waiting for someone to help me fix it I made this quick video shows how to install them into Photoshop using the plugin. Come and download it at your own risk as the site seems to be in danger of going down at any moment but while it’s up, you can get them here
The GrutBrushes Photoshop plugin for Digital Artists has been updated!
Version 1.1.1 of the GrutBrushes plugin is ready! If you need to update it you can download it from the available downloads section on your account page.
This may be a ‘minor’ plugin update but it includes some new features and quite a few fixes that may be rather major to those who requested them!
New to V1.1.1 – March 8 2014
Last brush used indicator – the #1 requested new feature
When you pick a brush, the border now lights up in white. This will remain ‘on’ until you pick another GrutBrush, even if you change the settings or pick another tool from the Photoshop menu. Clicking on it again will reset that brush to its default settings.
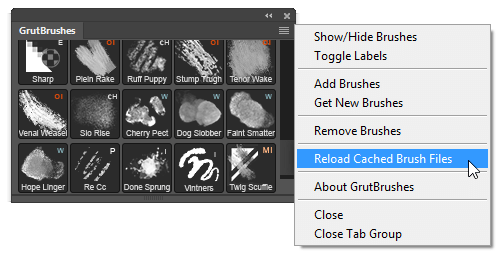
Reload Cached Brushes
When updating Photoshop, Adobe sometimes removes all your GrutBrushes from the panel and when you open Photoshop again you find an empty GrutBrushes panel. Instead of adding them back again, try this option to reload all your brushes
Reload missing brushes after updating Photoshop
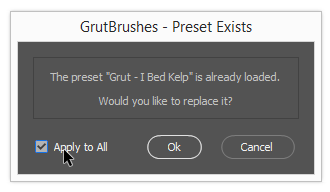
Ok to Replace All when reloading brushes
If you do ever want to add back in all your brushes and reload duplicates by accident, you no longer have to click “ok” to overwrite each one. Just click “apply to all” and any duplicates will be over-written. This is useful if you want to add a number of brushes and don’t remember which ones you already loaded.
Check to reload and Replace all existing Photoshop brushes
Load Brushes from Zip file – No more unzipping first!
You can now just select the zip file that contains your brushes when adding a new brush, you no longer have to unzip it first! This is a nice time-saver and will also allow for downloading and installing sets of multiple brushes from one single file.
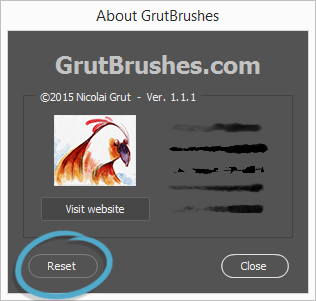
Reset Plugin (in the “About GrutBrushes” popup)
Reset plugin Panel (in About Menu popup)
This will reset the GrutBrushes panel, as if you had just installed it. Use this when you want to clear all GrutBrushes settings. This will remove all the brushes and clear all settings. Use this with caution and be aware that this will remove all GrutBrushes from the panel and you will have to add them (it will not delete them from your hard drive but always backup your brushes anyway!)
External Images dropping into panel disabled
Some people discovered the hard way that it was possible to drag images into the GrutBrushes panel and get them stuck there. This should no longer be possible with V1.1.1 If this has happened to you the “Reset” button should fix this for you (see above)
TPL files only filter (Mac)
When adding Photoshop brushes and tools to the panel, you will now only see the relevant TPL files in the file requestor and other non-installable files will be hidden from view.
I think that covers most of what you’ll notice in this new version. To install the update, just run the installer as usual, restart Photoshop and you should see the new menu items. To be sure, click on the about menu and you should see “V1.1.1”
If you need to uninstall the old one, here are detailed manual uninstalation instructions for both PC and Mac are included in the zip file.
If you are having trouble using the Automatic installation or would like to install it manually there are manual plugin installation instructions here which are also included in the zip file.
Let me know how you like it and leave feedback in the comments below. If you like the plugin a great way to support it is to leave a review for it here
[box type=”alert”]Manual Installation If you are having trouble installing automatically using the jsx install script, you can install the plugin manually. It basically involves copying two folders onto your hard drive. A step by step PDF with instructions is included and can be found online here.[/box]
This week’s brush is “Hatch LeeScritch” a A dense cross hatcher with a heavy fingerprint that ramps rapidly to clear on the edges. The pattern of this cross hatch brush is mostly opaque and thick stroked but the individual hatches taper to a sharp point. In this video I install the brush from inside Photoshop using the GrutBrushes plugin but you can also download it from free brush of the week page and load it in manually like any other Photoshop tool preset (see the included pdf)
The GrutBrushes Gallery is Online and Open!
Finally! Come by to have a look at the fantastic work created with a ton of talent (… and GrutBrushes!) by artist’s of all types, almost all of them not me!
You can support the artists by visiting their pages and support the gallery by sharing it (easy sharing links are at the bottom of the page)
If you have some work you’d like to submit for possible inclusion in the gallery I really want to see it! Even if you want to send me doodles you’ve done and don’t want to make them public just yet, please do and l can keep it just between us. I love to see the great drawings and paintings you create with the brushes, it keeps me inspired and I learn what brushes to make next based on what you create with them and your suggestions. So send me your stuff.
Sorry it’s taken me so long but I had to make sure I had all the proper permissions and the correct links to see more of these generous and talented artists’ work. I’m still waiting to hear back from some of you so if that’s you, send me your info and permission to post! When submitting your work, let me know if it’s ok to use it in social media posts as well as the gallery and then you won’t have to see so many of my scribblings anymore. For now, you’ll just have to visit the gallery to see some real artist’s work.
Thank you very much to everyone who submitted to the gallery!
50 straight weeks of free Photoshop brushes with no repeats, in two weeks it will be one full year of giving away brushes!
This week I’m giving away ‘Thicken Think’ a natural media Photoshop brush that acts a bit like a pastel airbrush if such a thing were possible. You can download it all week from the free brush of the week page or in the shop.
Sometimes people ask me which brush I used to do the shading in this painting and when I tell them it’s the ‘Ocean Liner‘ brush they usually don’t believe me and I really don’t blame them because this is the stroke most people get when they use the ocean liner brush:
Photoshop Brush stroke with average pressure applied
The fact is that most Photoshop brushes have a wide range of looks that you can get simply by varying the pressure of your stylus and sometimes you can find some of the most interesting effects at the very low end of the pressure scale.
By charging the brush size slightly from 20 to 45 pixels and stroking ever so lightly, and lifting my stylus between strokes (this part is important!) I can begin to build up this nice texture.
[baslider name=”lowstyluspressure”]
Now I probably wouldn’t set out to create this with this brush but the point is to not accept your brushes at face value. Experiment and investigate how they behave at the very lowest stylus pressure ranges and you may discover that they, like you, have hidden talents.
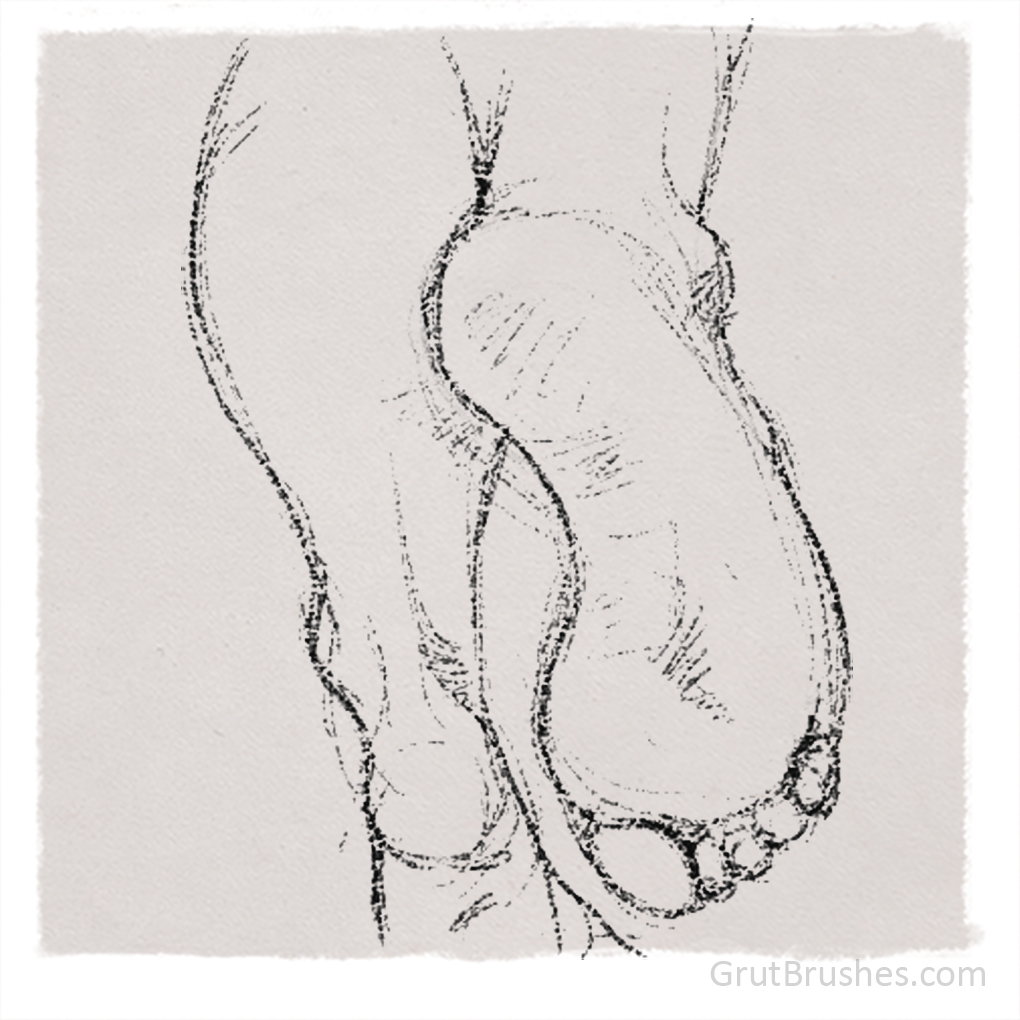
This week’s free GrutBrush is the “Re Cc” pencil. It’s a hard Photoshop pencil with an intermittent line reminiscent of the marks you get when scratching with a hard point through carbon paper (thus the CC in the name) You can get it all this week on the free Photoshop brush page or in the brush shop.