Posted on Leave a comment

Getting The Most out of Your Photoshop Brushes – Exploring The Low Pressure Range

http://grutbrushes.wistia.com/medias/lpubpnx945?embedType=async&videoFoam=true&videoWidth=1020

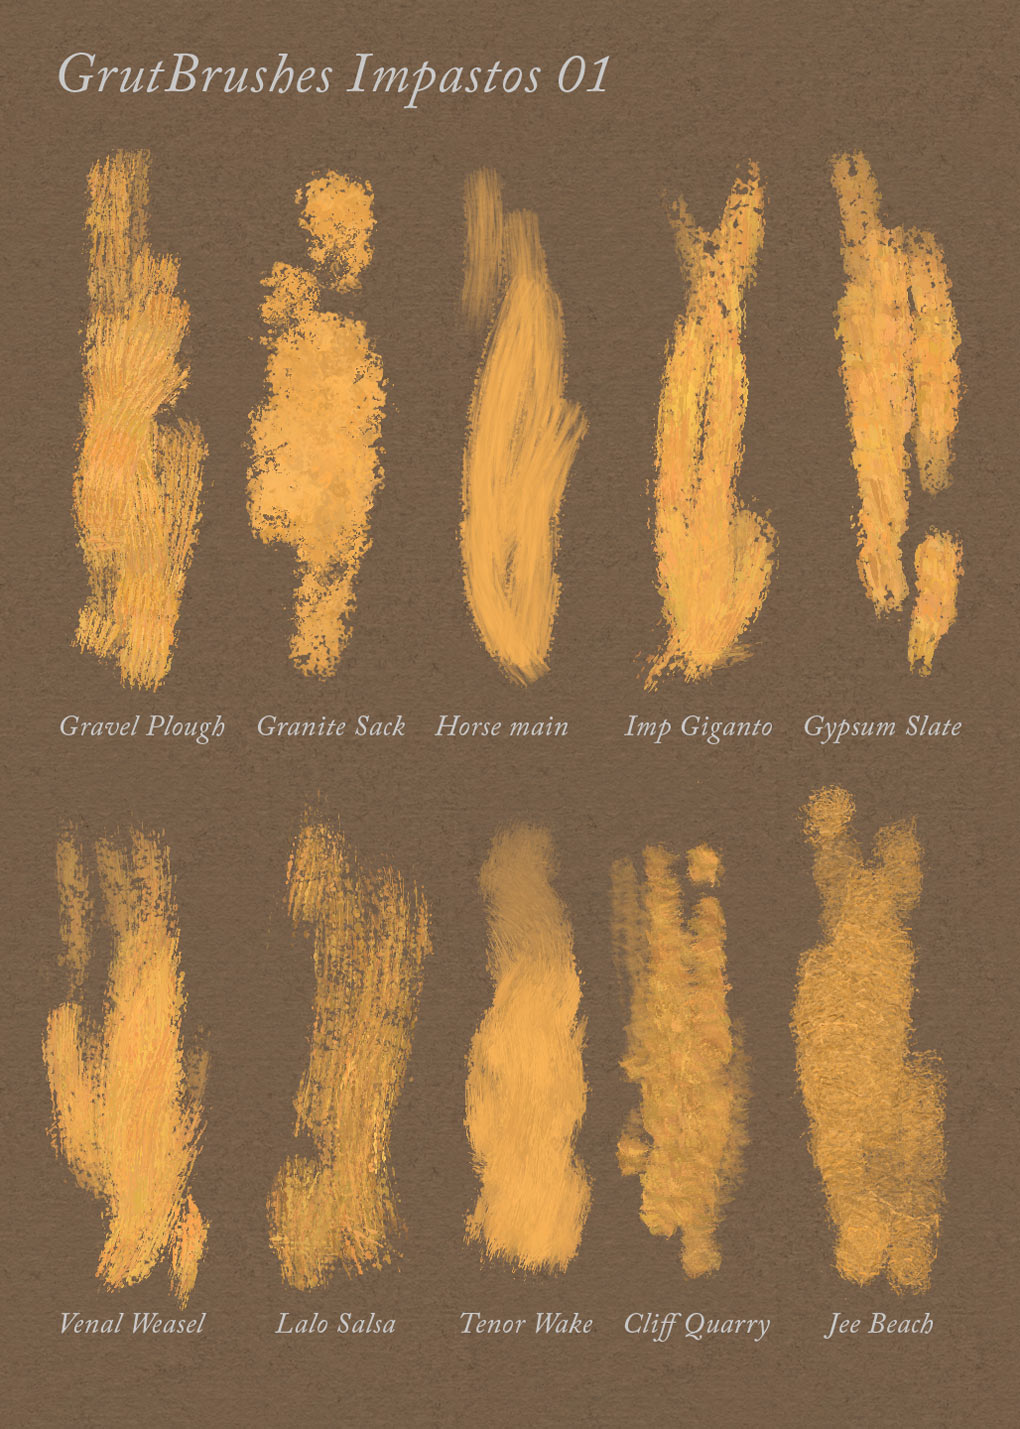
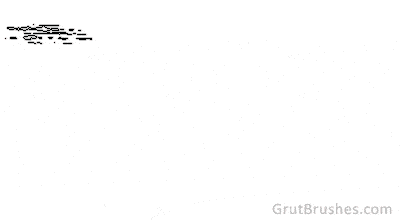
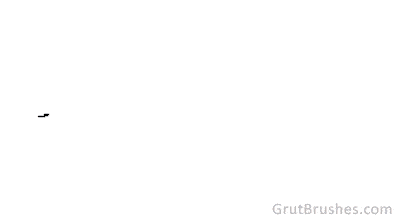
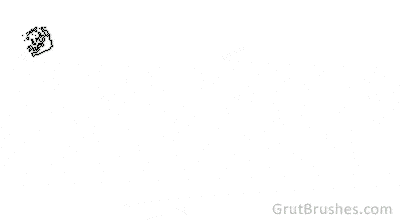
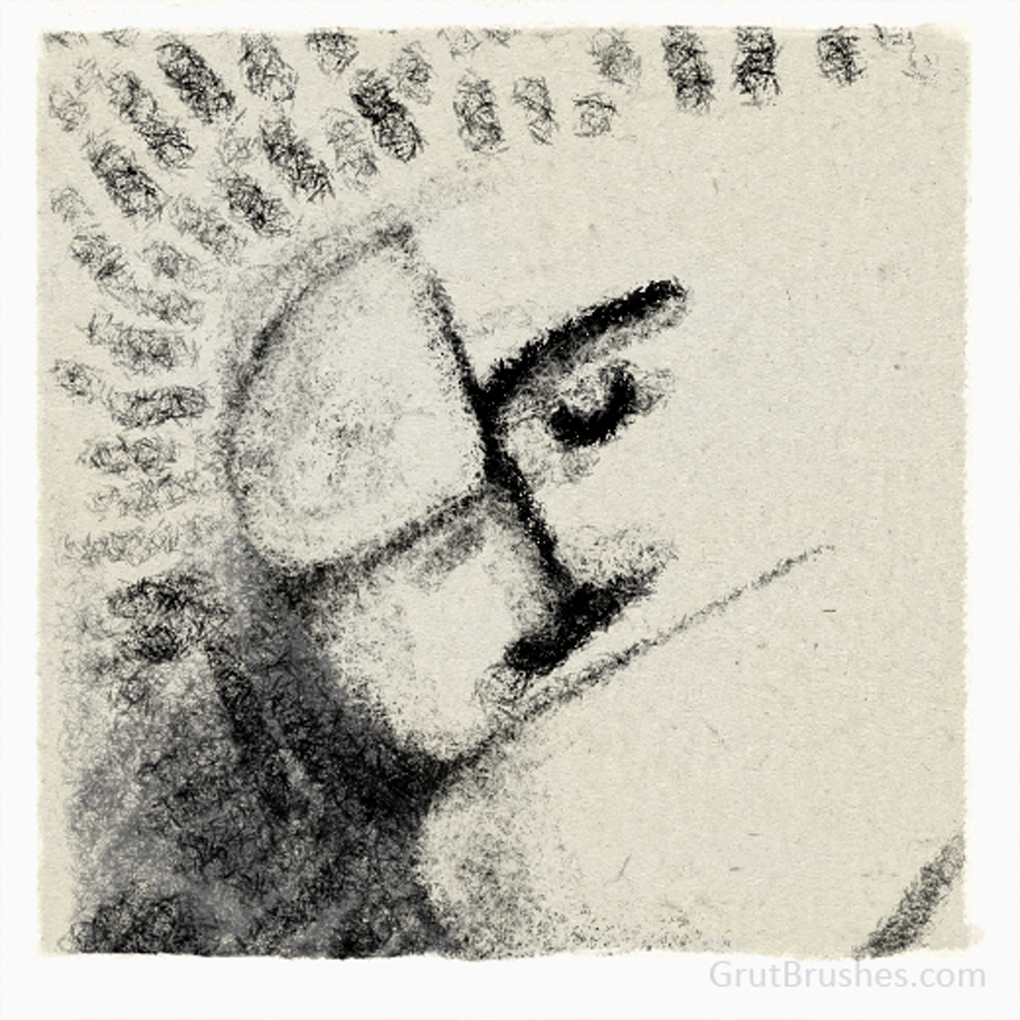
Sometimes people ask me which brush I used to do the shading in this painting and when I tell them it’s the ‘Ocean Liner‘ brush they usually don’t believe me and I really don’t blame them because this is the stroke most people get when they use the ocean liner brush:

Brush stroke with average pressure applied
Photoshop Brush stroke with average pressure applied

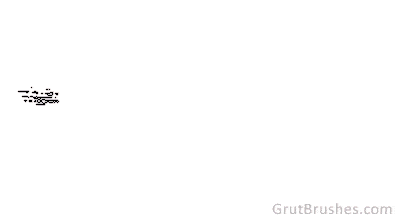
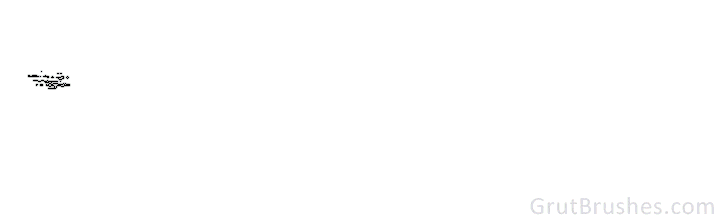
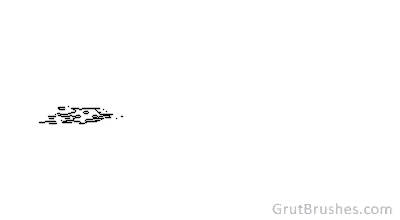
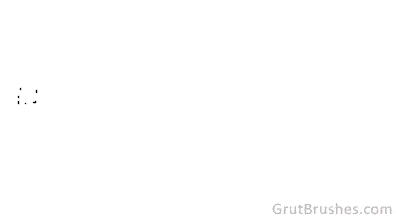
The fact is that most Photoshop brushes have a wide range of looks that you can get simply by varying the pressure of your stylus and sometimes you can find some of the most interesting effects at the very low end of the pressure scale.

By charging the brush size slightly from 20 to 45 pixels and stroking ever so lightly, and lifting my stylus between strokes (this part is important!) I can begin to build up this nice texture.

[baslider name=”lowstyluspressure”]

Now I probably wouldn’t set out to create this with this brush but the point is to not accept your brushes at face value. Experiment and investigate how they behave at the very lowest stylus pressure ranges and you may discover that they, like you, have hidden talents.


Facebooktwitterredditpinterestlinkedinmail
Posted on 2 Comments

Impasto Painting in Photoshop – Quick Tips 01

Here are a few quick tips to get you going with the Photoshop Impasto brushes

I will be doing a series of tutorials on how to use the GrutBrushes Photoshop Impasto brushes but this short video above shows a few brief tips.

To summarise:
– Vary your stylus pressure and use short strokes for a more organic look
– Use a flatter Photoshop brush to block in large areas
– Press softly on your stylus to blend or soften texture
– Push harder when you want more texture
– Use alt/option to pick colours from your painting

Brush Strokes and animated previews

Photoshop Impasto painting with GrutBrushes
Impasto Brushes from Impastos 01

(Mouseover or tap the icons below to watch the Photoshop brushes drawing ‘live’!)

'Gravel Plough' Photoshop Impasto brush
‘Gravel Plough’ Photoshop Impasto brush
'Granite Sack' Photoshop Impasto brush

‘Granite Sack’ Photoshop Impasto brush
'Horse Main' Photoshop Impasto paint

‘Horse Main’ Photoshop Impasto brush
'Imp Giganto' Photoshop Impasto paint

‘Imp Giganto’ Photoshop Impasto brush
'Gypsum Slate' Photoshop Impasto brush

‘Gypsum Slate’ Photoshop Impasto brush
'Venal Weasel' Photoshop Impasto oil paint

‘Venal Weasel’ Photoshop Impasto oil brush
'Venal Weasel' Photoshop Impasto oil paint

‘Venal Weasel’ Photoshop Impasto oil brush
'Cliff Quarry' Photoshop Impasto oil paint

‘Cliff Quarry’ Photoshop Impasto oil brush
'Tenor Wake' Photoshop Impasto oil paint

”Tenor Wake’ Photoshop Impasto oil brush
'Jee Beach' Photoshop Impasto oil paint

‘Jee Beach’ Photoshop Impasto oil brush
Facebooktwitterredditpinterestlinkedinmail
Posted on Leave a comment

New Charcoal Brush – Kitchen Pyle

Photoshop Charcoal brush drawing done with the Kitchen Pyle brush

This Photoshop Charcoal brush with a lot of hand made paper fiber texture is new in the shop today. The lines at the top left are pure unadultarated ‘as is’ strokes whereas the rest have been shaped and carved with erasers.

https://www.grutbrushes.com/shop/photoshop-brushes/kitchen-pyle-photoshop-charcoal-brush/

Facebooktwitterredditpinterestlinkedinmail
Posted on Leave a comment

Painting With Your on-Screen Palette in Photoshop

One of the great things about digital painting is that your canvas can be your palette. By holding down the ALT or Option key in Photoshop you can pick a new color from your current painting’s canvas and continue on. Here you can see me travel a tremendous distance from light to dark just by picking a new darker color from the crevices of my previous impasto brush strokes in Photoshop. This was painted using the new Linsee Dew Photoshop Impasto Oil brush

Facebooktwitterredditpinterestlinkedinmail
Posted on 4 Comments

Add LightSabers to Photos with the Lightsaber Photoshop Brushes

how to add lightsabers to photos in photoshop with free Photoshop lightsaber brushes
add lightsabers to photos in photoshop with Photoshop brushes

Relive your memories of a night out with friends as a glorious Lightsaber battle instead by adding Lightsabers to all your photos in just a few clicks with these free Photoshop brushes. Use the hashtag #drinksaber so that I can find your creations!

Continue reading Add LightSabers to Photos with the Lightsaber Photoshop Brushes

Facebooktwitterredditpinterestlinkedinmail
Posted on Leave a comment

Using Multiple Watercolour Brushes

Painted using 3 different digital  watercolor brushes
Painted using 3 different digital watercolor brushes

Sometimes one brush will do for the whole painting but other pieces call for multiple brushes. The colour in this painting was done using the bolder Paste Up and Grape Remains for the hair and for the subtler more even tone of the background I used the Moth Wing brush. For shading I used the Ocean Liner brush with a reduced opacity so that I could go over and build up darker areas slowly and also for the clothing I used Lofty Tinge which has more texture. To get some more texture and drama into the background I added some of the more saturated orangey bits using the Paste Up brush again, this time with a much larger brush size, about double what I used on the hair.

Facebooktwitterredditpinterestlinkedinmail