[twocol_one]
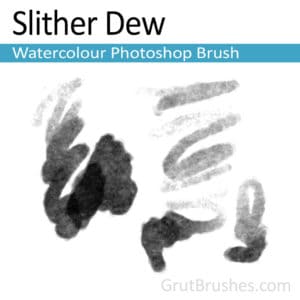
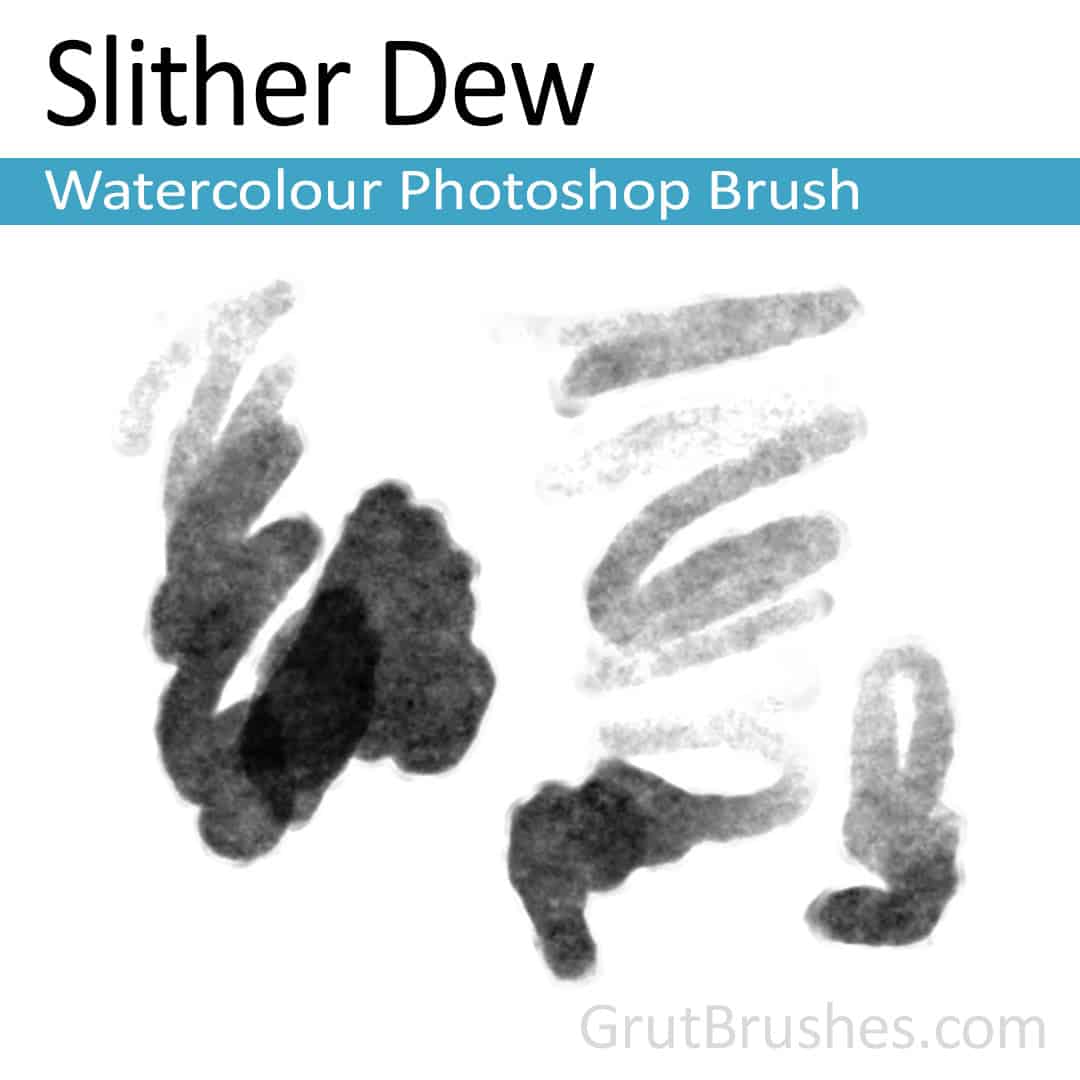
Slither Dew Photoshop Watercolor Brush. A realistic, responsive, watercolour brush for digital artists.
[/twocol_one][twocol_one_last]
Painting with the Slither Dew Photoshop Watercolor Brush
This week’s free Photoshop brush is a soft grainy watercolour brush with a cloudy form and a texture that accentuates a grainy and fibrous weathered medium. This brush has a farily strong presence but with a light touch of the stylus can also be used for more subtle shading.[/twocol_one_last]
As always, you can download it from the shop or the member’s free Photoshop brush page for free until the end of this week (April 19) when there will be a new free brush.
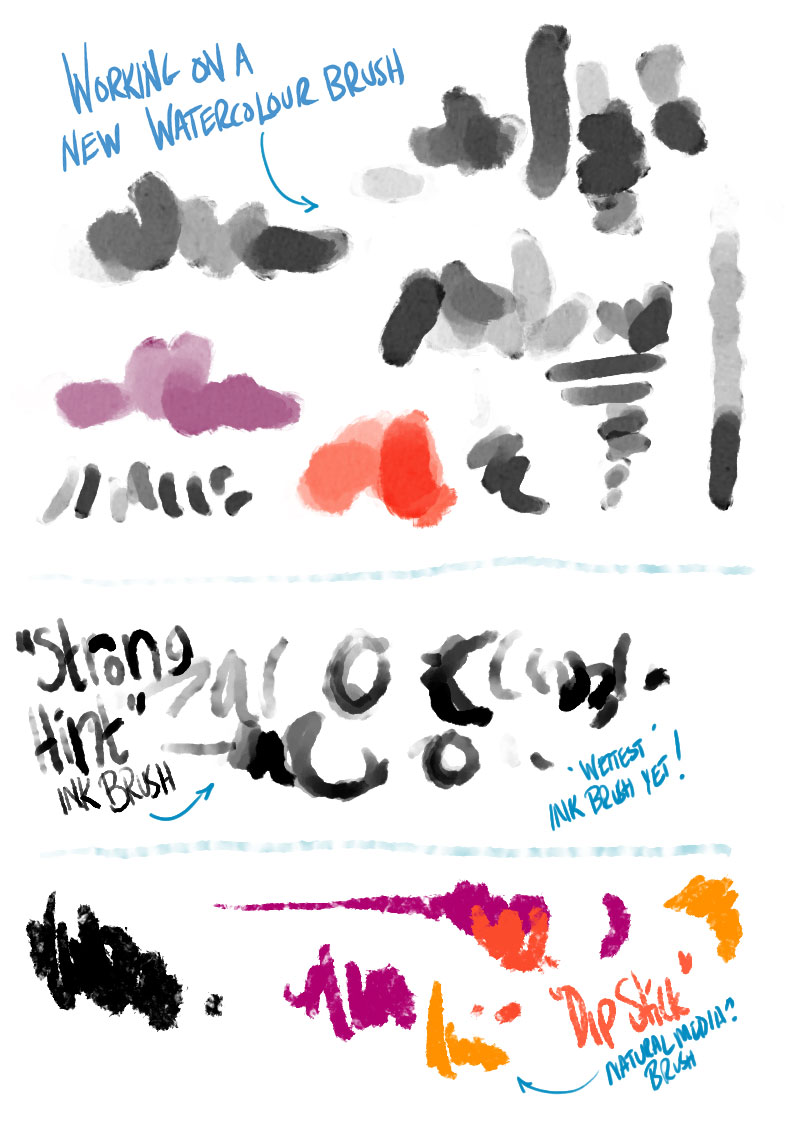
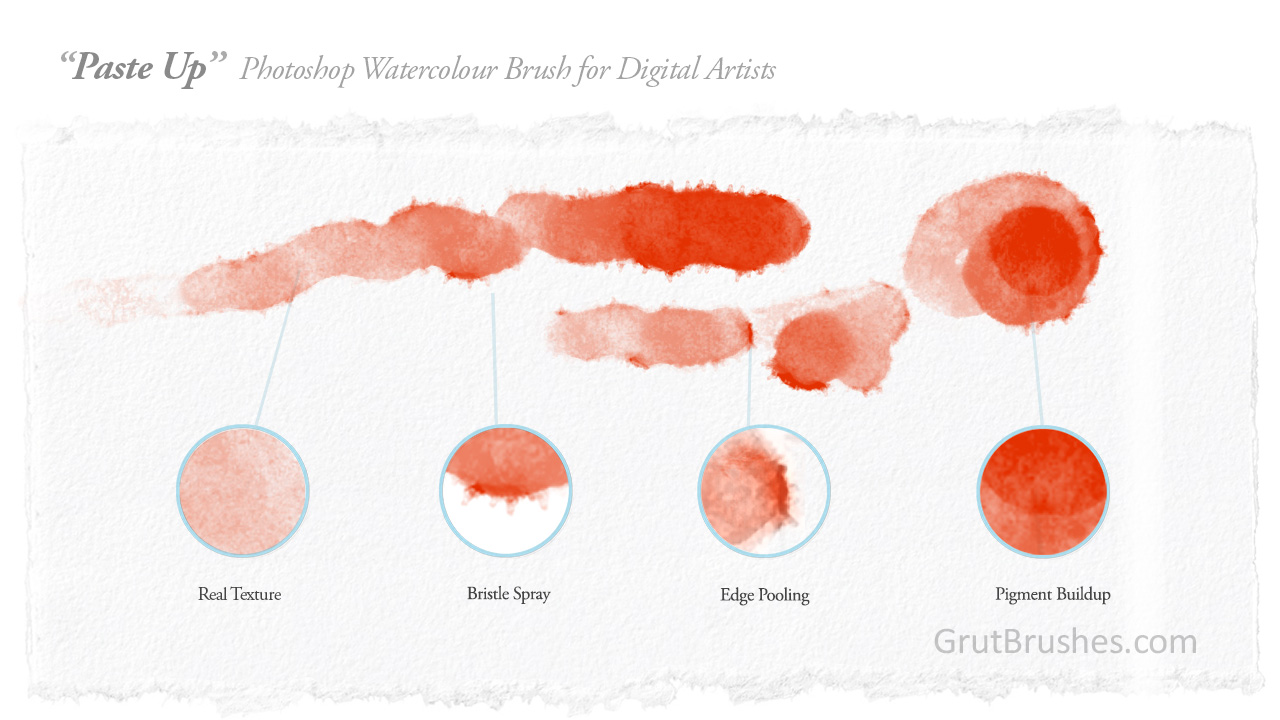
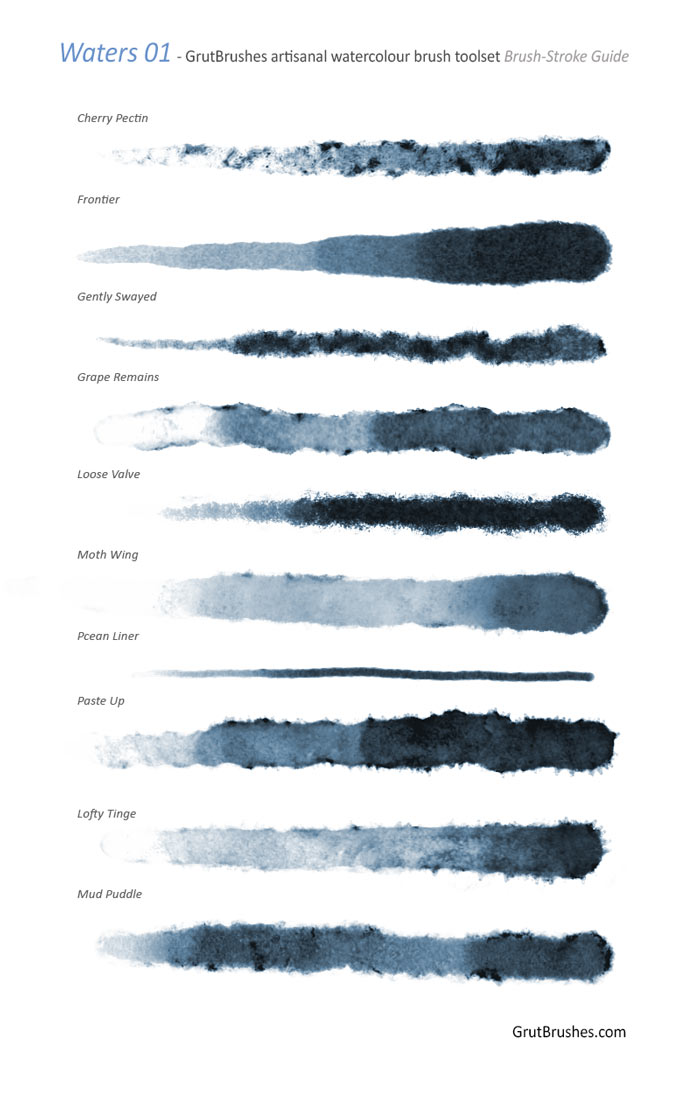
brush stroke characteristics of Pasteup digital watercolour brush
What is it that gives a brush it’s personality? It’s a combination of your style, how your fingers move and the brush itself. Just as you have a unique way of moving your wrist to create lines, each brush has it’s own unique stylistic signatures. Whether it’s a few stray bristles, the way it holds or releases water, oil, paint and pigment, or simply how slowly or quickly it tapers from a point to a blob, if at all. All these quirks and characteristics add up to give a brush it’s personality.
The same holds true for a good digtal artists’s brush. In this visual dissection I’ve attempted to draw attention to some of the the characteristics unique to the ‘Paste Up’ Photoshop watercolour brush, some of the most prominent features that add up to create the signature look of it’s strokes.
Watercolor in Photoshop can be just as tricky as real watercolor and some of the same techniques apply. A little forethought can go a long way as digital paint ‘dries’ when you lift your pen so ideally you want to do one contiguous area in one unbroken brush stroke. Don’t lift the stylus from the tablet and be prepared that each subsequent stroke will give you a darker colour (see the hair in the top left) due to the multiply effect. Think of it as laying down multiple layers of coloured plastic sheets – the areas where they overlap will be darker and you will see the seams.
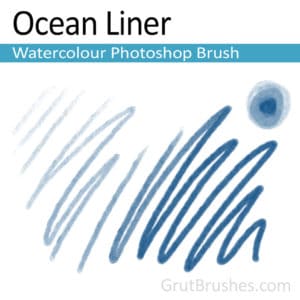
Digital painting with the ‘Ocean Liner’ digital artists Photoshop watercolor brush
Sometimes I get too excited by the latest brushes and neglect the older ones, so to try to break that habit I’m going back into the brush box and doing some paintings with older brushes. Here’s a painting I did today with one of my favourite watercolour brushes, Ocean Liner. The video is sped up so that it lasts about a minute but the actual painting took about 12 minutes.
[twocol_one]Ocean Liner Photoshop watercolour sketch brush
[/twocol_one] [twocol_one_last]A fine watercolour brush with a wide ranging opacity that makes a good sketch brush as well as a detailer for finer work. With a controlled stroke, from firm to light, the Ocean Liner brush will give a nicely graduated line from fairly dark yet soft to the faintest hint of a sketch in one go. The cottony texture gives it a warm organic feel.
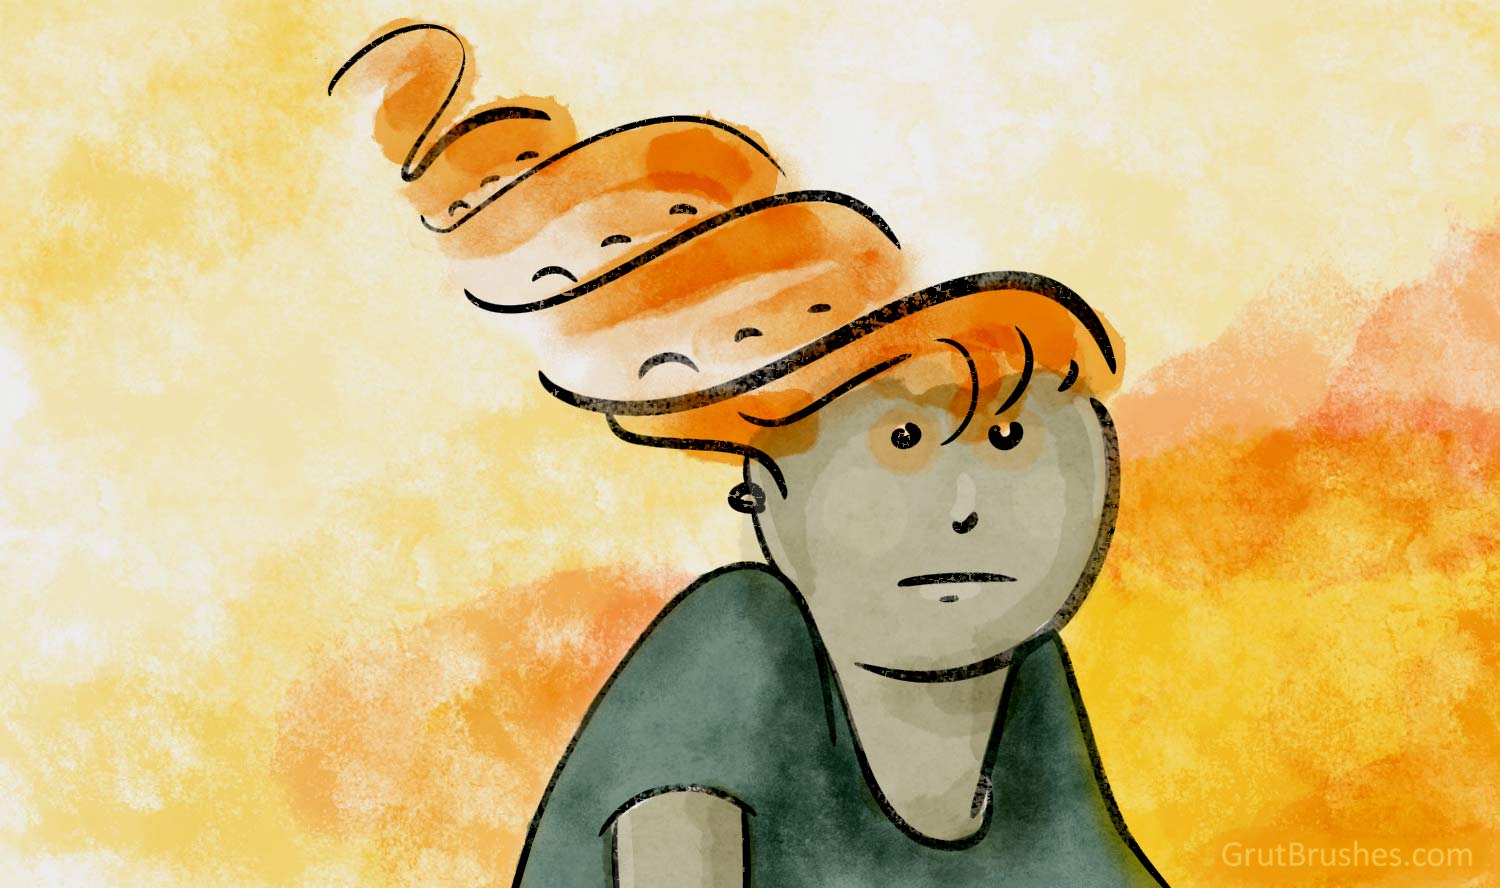
Painted using 3 different digital watercolor brushes
Sometimes one brush will do for the whole painting but other pieces call for multiple brushes. The colour in this painting was done using the bolder Paste Up and Grape Remains for the hair and for the subtler more even tone of the background I used the Moth Wing brush. For shading I used the Ocean Liner brush with a reduced opacity so that I could go over and build up darker areas slowly and also for the clothing I used Lofty Tinge which has more texture. To get some more texture and drama into the background I added some of the more saturated orangey bits using the Paste Up brush again, this time with a much larger brush size, about double what I used on the hair.


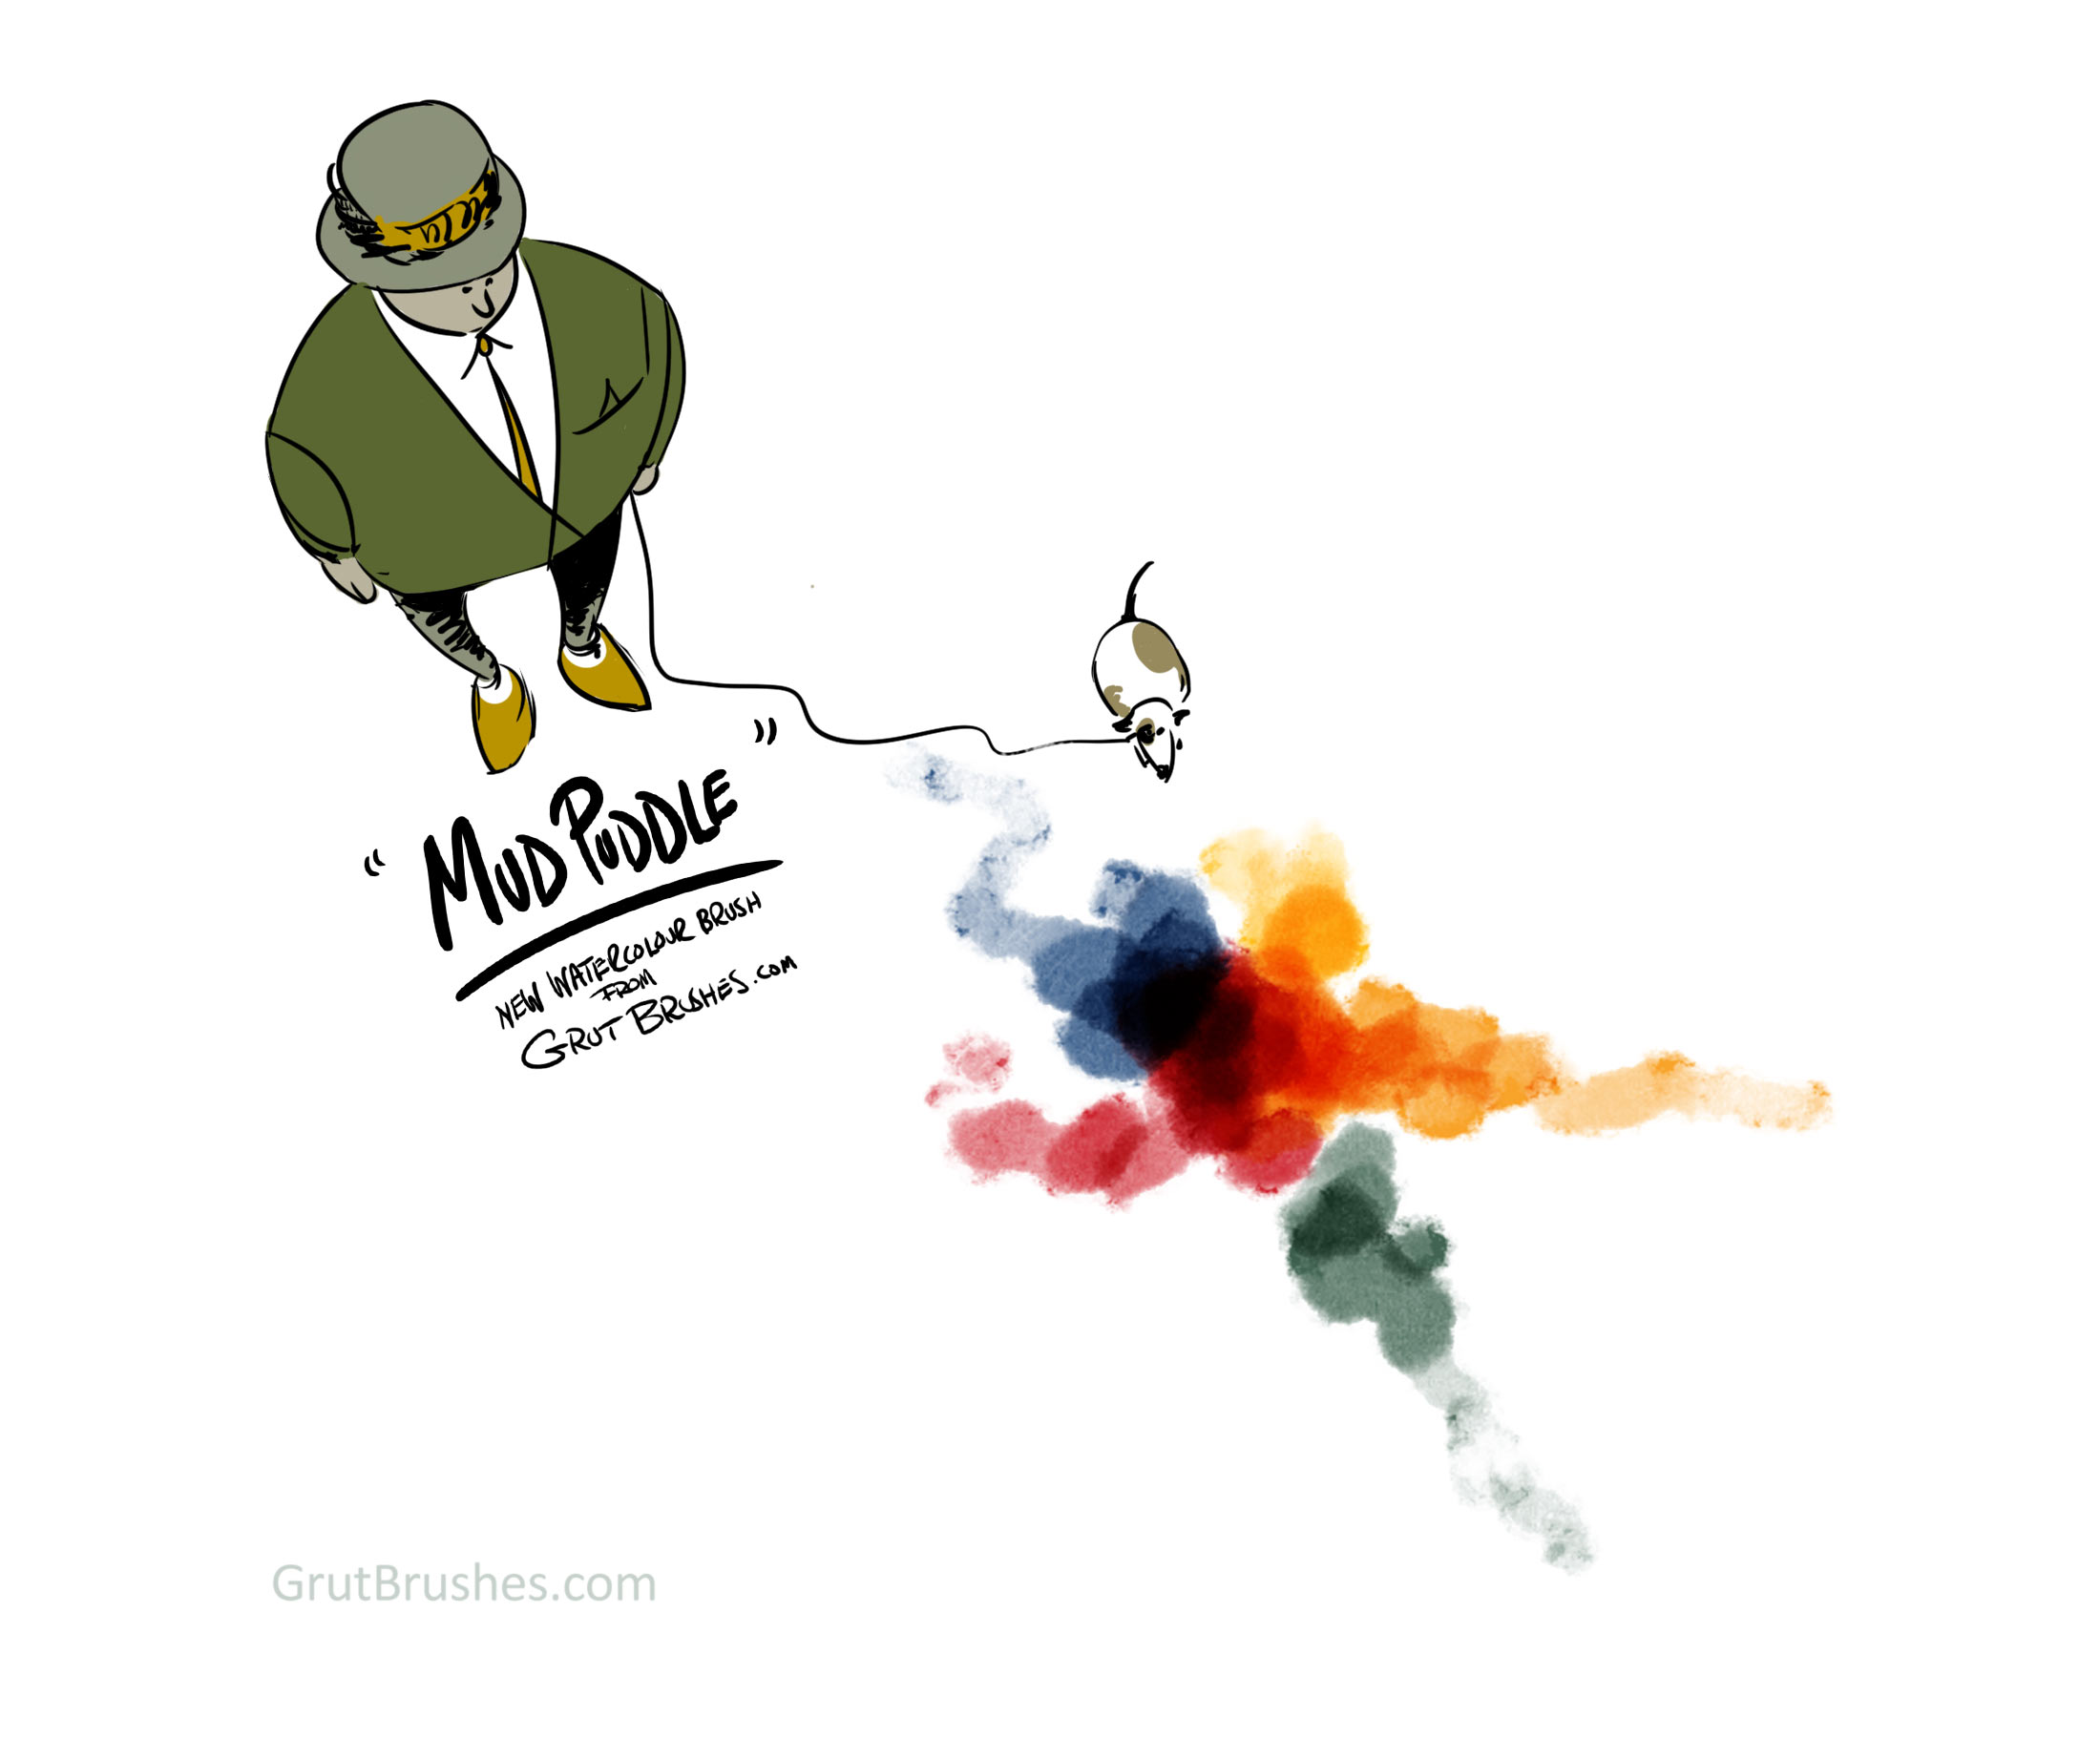 drawn with the Mud Puddle Watercolor Photoshop brush